Unboxing and First Impressions
The Sky Rover Stalker helicopter arrives in a compact box with minimal packaging. Inside, you’ll find the helicopter, remote control, USB charger, and a basic instruction manual. The design appears sleek, and the lightweight build feels durable enough for casual use. First impressions suggest a user-friendly toy designed for quick setup and enjoyable flying experiences.
1.1. What to Expect in the Box
The Sky Rover Stalker helicopter box includes the helicopter, a full-function remote control, a USB charger, and an instruction manual. Additional items like extra rotor blades or tail sections may be provided. The manual details assembly steps, charging procedures, and basic flight instructions, ensuring users can start flying.
1.2. Initial Setup and Preparation
After unboxing, begin by charging the helicopter using the provided USB charger. Ensure the power switch is off during charging to prevent any electrical issues. Once charged, sync the remote control with the helicopter by selecting the same frequency on both devices. Perform a quick pre-flight check to ensure all parts are secure and functional. The helicopter is now ready for its maiden flight, ideal for indoor use to get accustomed to its handling.
Understanding the Components
The Sky Rover Stalker includes a remote control, main helicopter body, rotors, tail section, and rechargeable battery. Each part serves a specific function, ensuring smooth and stable flight operations.
2.1. Remote Control Overview
The Sky Rover Stalker’s remote control features a 2.4 GHz frequency for stable operation, with buttons for basic commands like throttle, direction, and LED light control. It supports multiple frequencies to avoid interference and is designed for easy handling, suitable for both indoor and outdoor flights.
2.2. Helicopter Parts and Features
The Sky Rover Stalker features a compact design with a main rotor, tail rotor, and LED lights for visibility. It includes a turbo engine, smart circuit protection, and an IR gyro for stability. The lightweight construction ensures durability, while the infrared system aids in smooth control and consistent flight performance.
2.3. Battery and Charging System
The Sky Rover Stalker uses a rechargeable lithium-polymer (LiPo) battery, providing up to 7 minutes of flight time. Charging is done via USB, with the helicopter switched off. Ensure the battery is fully charged before first use. Avoid overcharging to maintain battery health and longevity for optimal performance.
Assembly and Preparation
The Sky Rover Stalker arrives mostly pre-assembled. Attach the rotors and tail section firmly to the main body. Insert the batteries into the remote control and ensure all parts are secure before first use.
3.1. Step-by-Step Assembly Guide

Attach the main rotor and tail section to the helicopter body. Ensure all parts are securely locked in place. Insert the batteries into the remote control and sync it with the helicopter. Charge the battery using the provided USB charger before first use. Follow the manual for proper alignment and tightening of components.
3.2. Attaching the Rotors and Tail
Mount the main rotor and tail rotor onto their respective axles, ensuring they are tightly secured. Align the tail section with the main body and gently snap it into place. Make sure all connections are firm to prevent loosening during flight. Refer to the manual for precise alignment instructions and torque specifications for optimal performance and stability during operation.
3.3. Syncing the Remote Control
Turn on the remote control and the helicopter simultaneously. Select the desired frequency (A, B, or C) using the switch on the remote. Ensure the connection is stable by checking the LED indicators. If synchronization fails, restart both devices and repeat the process. A solid light confirms successful pairing for smooth operation.

Charging the Battery
Use the provided USB charger to charge the helicopter. Connect to a computer or USB adapter. Charging typically takes 30-60 minutes. LED indicators show charge status. Ensure adult supervision and avoid overcharging to maintain battery health and performance.
4.1. Recommended Charging Methods
Use the provided USB charger to charge the Sky Rover Stalker helicopter. Connect the USB to a computer or a compatible wall adapter. Ensure the helicopter’s power switch is turned off during charging to prevent electrical issues.
Avoid overcharging by adhering to the recommended 30-60 minute charging time. LED indicators on the charger or helicopter will signal when charging is complete. Always follow the instructions in the user manual for specific battery type guidance.
4.2. Charging Time and Indicators
The Sky Rover Stalker helicopter typically takes 30-60 minutes to charge. The LED indicator on the charger or helicopter will change from red to green when charging is complete. Ensure the helicopter’s power switch is off during charging to prevent electrical issues. Always follow the user manual for specific guidance.
4.3. Safety Tips for Charging
Always charge the Sky Rover Stalker helicopter on a stable, heat-resistant surface. Keep it away from flammable materials and children. Avoid overcharging, as it can damage the battery. Use only the provided charger to prevent electrical issues. Ensure the helicopter is turned off during charging for safety.
Flying Instructions
The Sky Rover Stalker helicopter offers stable and easy control, perfect for indoor or outdoor use. It performs smooth movements, including rising, falling, turning, and moving forward or backward. Start in an open area to master basic maneuvers and enjoy a responsive flying experience.
5.1. Basic Controls and Movements
The Sky Rover Stalker helicopter features full-function controls, allowing for smooth movements such as rising, falling, turning left/right, and moving forward/backward. Use the remote control to adjust throttle and direction. The helicopter’s stable design ensures easy handling, making it ideal for beginners to practice basic maneuvers in open spaces.
5.2. Advanced Flight Modes
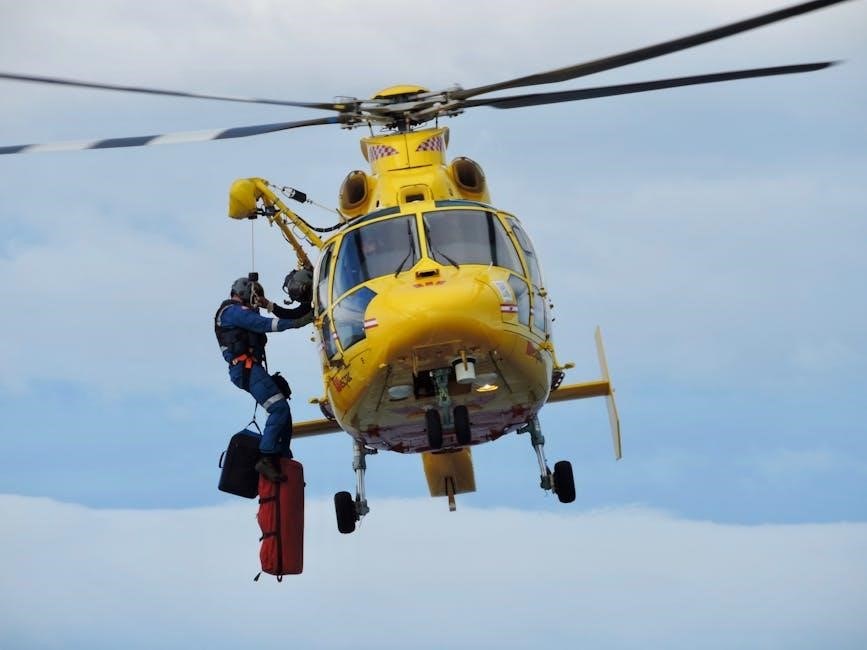
The Sky Rover Stalker helicopter offers advanced flight modes for experienced users, including a turbo engine for faster climbs and smart circuit protection to prevent overheating. With 2.4 GHz radio control, it ensures stable operation and up to 7 minutes of flight time. The full-function remote allows precise control for aerobatic maneuvers, enhancing the flying experience.
5.3. Troubleshooting Common Issues
Common issues with the Sky Rover Stalker include battery drainage, rotor malfunctions, and remote connectivity problems. Ensure the battery is fully charged and properly connected. Check for damaged rotors and replace if necessary. Resetting the remote control or re-syncing it with the helicopter often resolves connectivity issues. Regular maintenance can prevent these problems.

Maintenance and Care
Regularly clean the helicopter with a soft cloth to remove dust. Store it in a dry, cool place away from direct sunlight. Replace worn or damaged parts promptly to ensure optimal performance and safety.
6.1. Cleaning the Helicopter
Use a soft, dry cloth to gently wipe down the helicopter’s surface, removing dust and debris. Avoid harsh chemicals or abrasive materials that could damage the finish. Regular cleaning ensures smooth operation and maintains its appearance. Inspect for any damage or wear during cleaning and address issues promptly to prevent further problems.
6.2. Storing the Device Properly
Store the Sky Rover Stalker helicopter in a dry, cool place away from direct sunlight and moisture. Use the original packaging or a protective case to prevent damage. Ensure the battery is fully charged or removed to avoid discharge issues. Keep the remote control separate to prevent accidental activation and damage.
6.3. Replacing Parts and Upgrades
Replace damaged parts with official Sky Rover Stalker components or compatible third-party upgrades. Upgrade the battery for longer flight time or enhance motor performance for better stability. Always check compatibility before installing new parts to ensure proper functionality and safety. Regularly inspect and replace worn-out rotors or gears to maintain optimal performance.
Safety Precautions
Always keep the helicopter away from eyes and face. Avoid touching spinning rotors. Ensure adult supervision for children. Follow charging instructions carefully to prevent accidents or damage.
7.1. Operating in Indoor vs. Outdoor Environments
The Sky Rover Stalker helicopter is suitable for both indoor and outdoor use. Indoors, ensure ample space and avoid obstacles. Outdoors, choose open areas with minimal wind. Strong winds can affect stability, so opt for calm conditions for better control and safety during flights.
7.2. Avoiding Common Hazards
Avoid flying near people or pets to prevent accidents. Keep the helicopter away from face and eyes during operation. Ensure fingers are clear of spinning rotors. Avoid modifications not approved by the manufacturer, as they can void safety certifications and cause malfunctions.
7.3. Emergency Landing Procedures
In case of an emergency, reduce the throttle gradually and guide the helicopter to a safe, open area. Avoid obstacles and ensure the landing zone is clear. Power off immediately after landing to prevent rotor damage. Always prioritize safety and avoid sudden movements during descent.
Tips for Beginners
Start in an open area to avoid obstacles. Use the Sky Rover Stalker in indoor or outdoor settings as recommended. Keep it away from your face and eyes for safety. Gradually get familiar with the controls to build confidence.
8.1. Getting Comfortable with Controls
Start by familiarizing yourself with the remote control. Practice basic movements like rising, falling, and turning in an open space. Use the left stick for throttle and the right for direction. Begin with gentle inputs to avoid sudden movements. This will help you build confidence and coordination.
8.2; Practicing Basic Maneuvers
Begin by mastering basic movements like hovering, forward/backward motion, and gentle turns. Practice in an open, obstacle-free space. Start with short flights to build control and confidence. Gradually combine movements to perform simple maneuvers like figure-eights or slow descents. Patience and repetition will refine your skills and improve precision.
8.3. Understanding Flight Dynamics
Understand how rotor speed and tail alignment affect stability and direction. Practice controlling altitude and yaw to maintain steady flight. Familiarize yourself with the gyro’s role in balancing the helicopter. Learn how wind and space constraints influence maneuvers. This foundational knowledge will enhance your ability to navigate smoothly and maintain control during flights.

Advanced Features and Customization
The Sky Rover Stalker offers customizable LED lights and multiple frequency settings for interference-free flights. Users can also upgrade parts like rotors and motors for improved performance and durability, allowing for personalized enhancements to suit advanced flying preferences and extend flight capabilities.
9.1. Customizing the Helicopter
The Sky Rover Stalker allows for various customizations, such as adjusting LED light settings and modifying rotor designs. Users can upgrade parts like motors and blades for enhanced performance. Additionally, the remote control’s frequency settings can be fine-tuned to optimize responsiveness and reduce interference during flights.
9.2. Optimizing Flight Time
To maximize flight time, ensure the battery is fully charged and avoid overcharging. Maintain a steady flying pace and avoid aggressive maneuvers that drain power quickly. Regularly clean and inspect the helicopter’s components for optimal performance. Proper storage and care of the battery will also extend its lifespan and flight duration.
9.3; Upgrading Parts for Performance
Upgrading parts like rotor blades, motors, and the battery can enhance performance. Consider replacing stock components with high-quality alternatives. A LiPo battery can improve flight time, while upgraded motors provide more power. Ensure compatibility and consult the manual before making modifications to maintain optimal functionality and safety.
Troubleshooting Common Issues
Identify common problems like battery drain, rotor malfunctions, and connectivity issues. Check connections, balance blades, and ensure proper charging; Refer to the manual for detailed solutions.
10.1. Battery and Charging Problems
Common issues include drained batteries, poor connections, or overheating. Ensure the battery is fully charged and properly secured. Check for loose connections and clean terminals. Avoid overcharging, as this can reduce battery life. If problems persist, replace the battery or consult the manual for troubleshooting steps.
10.2. Motor and Rotor Malfunctions
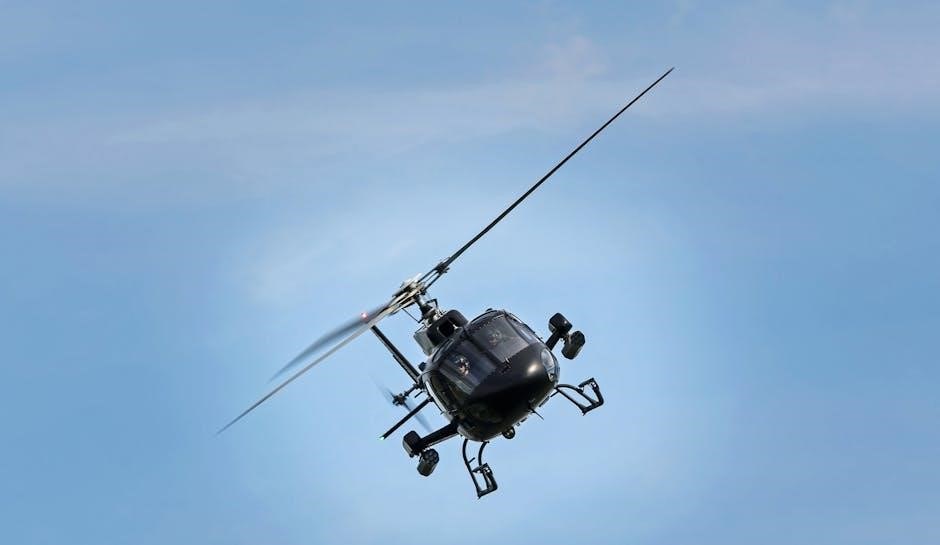
Motor and rotor issues often arise from imbalance, debris, or wear. Check for obstructions in the rotors and ensure proper alignment. If the helicopter vibrates excessively or fails to lift, inspect the motor for overheating or damage. Clean or replace faulty parts as needed to restore smooth operation;
10.3. Remote Control Connectivity Issues
Loss of signal or unresponsiveness can occur due to interference or misalignment. Ensure the remote and helicopter are on the same frequency. Reset by turning both off, then on; Check for physical obstructions or nearby devices causing interference. Re-sync the remote if issues persist for reliable operation.
